
Regulators
Filter and sort


What is a solar charge controller and why is it key?
The charge controller protects and optimizes the connection between the panels and the battery bank. It controls voltage and current to charge with the appropriate profile (AGM, GEL, OPzS, lithium), preventing overcharging and excessive discharging. A good controller improves the efficiency of the system and extends the service life of the batteries.
Types of controllers
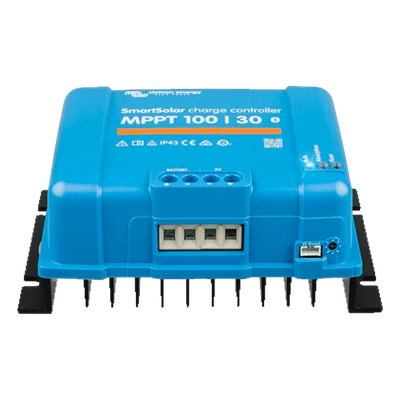
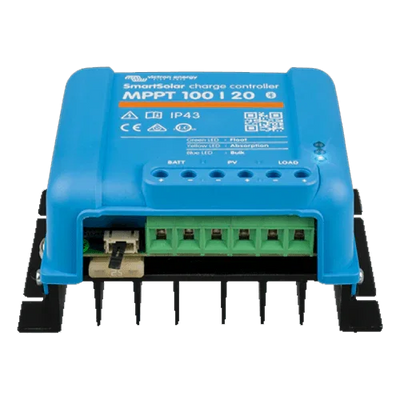
- MPPT: maximum power point tracking. Allows strings at higher voltage, makes better use of irradiance, and usually increases the energy captured compared to PWM, especially with low temperatures or long cable runs.
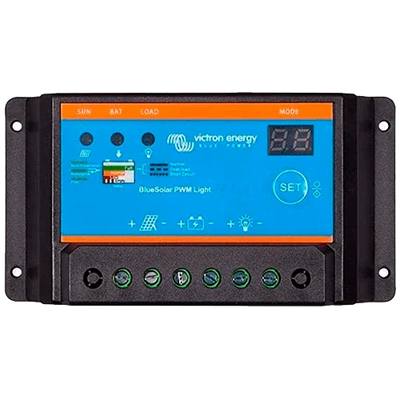
- PWM: economical and reliable option for small systems with panels and batteries of the same voltage (12/24 V). Simple and robust.
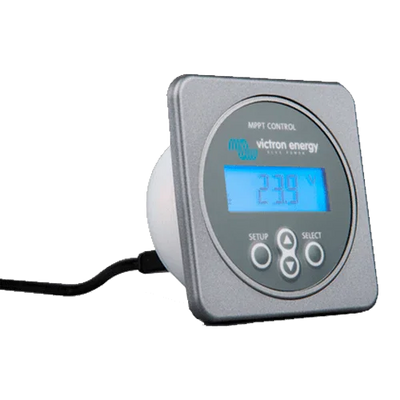
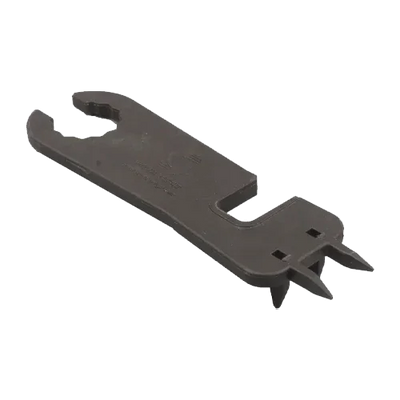
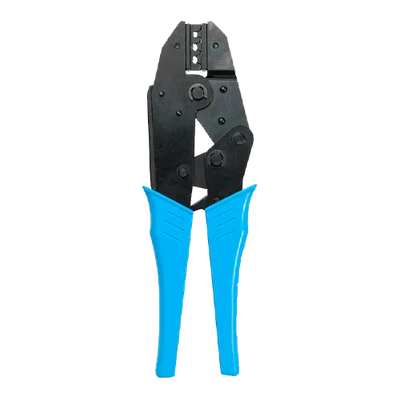
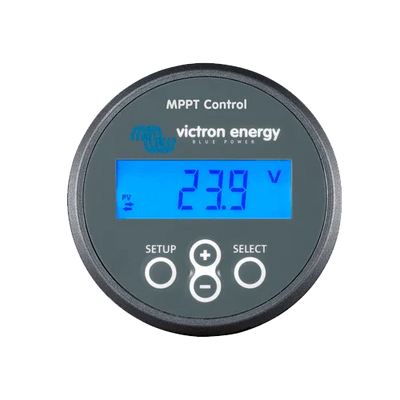
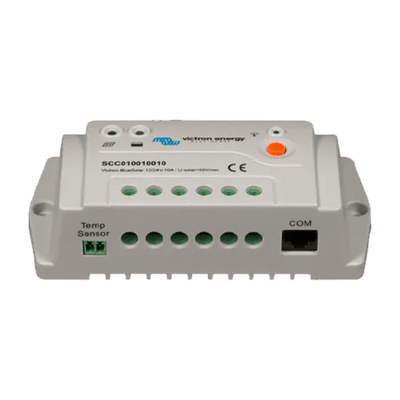
- Accessories: temperature sensors, displays, communication modules, fuses, disconnectors, and wire kits.
How to choose your controller
- PV power: add up the power of the panels (W) and verify that the controller supports it.
- Charge current (A): must be ≥ the maximum current to the battery (PV W / battery V), leaving a margin.
- PV input range: for MPPT, check the maximum Voc/Vmp with the minimum temperature in your area.
- Battery voltage: 12/24/48 V automatic or selectable; charge profiles for AGM/GEL/OPzS and lithium compatibility if applicable.
- Communications: RS485/CAN, Bluetooth/Wi-Fi for monitoring and fine adjustment.
- Location: IP rating, ventilation, and space for wiring/protection devices.
Key specifications
| Topology | PWM or MPPT |
| Battery voltage | 12/24/48 V (depending on model) |
| Charge current | 10–100+ A (model-dependent) |
| PV input | Maximum Voc/Vmp (critical in MPPT) |
| Profiles | AGM, GEL, OPzS, and lithium compatibility (depending on model) |
| Communications | RS485/CAN, BT/Wi-Fi, remote display |
Best installation practices
- Size the wiring for a voltage drop <3% in critical sections.
- Install a fuse and disconnector in the battery–controller section; add SPD if applicable.
- Connect the battery to the controller first, then the PV array (as per manual).
- Configure the battery profile (absorption/float voltages) and, if there is a sensor, enable temperature compensation.
- For MPPT, check the Voc of the string at the minimum temperature in your area to avoid exceeding the equipment limit.
Recommended accessories
- Temperature sensors for optimal charging.
- Communication interfaces and displays for monitoring and adjusting parameters.
- DC protections: fuses, disconnectors, and SPD suitable for the controller's range.
Choose MPPT if you seek maximum performance and string flexibility; opt for PWM for compact and economical projects. Complete your installation with official accessories and enjoy safe and efficient charging.
Our Brands

